")
Step by Step guide –
Do you want to know how I created this stunning 3D gel rose nail design using the 4D gels?
Well, you landed on the right page. This post is a step by step on how to create 3D roses and if you are interested in how I created the background of these nails, click here.
Let’s begin…
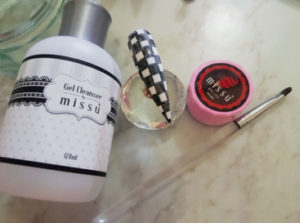
Products I used –
- Missu Beauty: Gel Cleanser
- Missu Beauty: 4D Brush.
- Missu Beauty: 4D Gel Red Lips.
- Missu Beauty: Glossy Top Coat.
- Buffer/file.
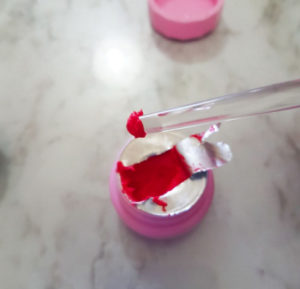
4D Gel in Red Lips
- Use the end of the Missu Beauty gel brush to scoop out the 4D gel.
- You only need a medium size bead.
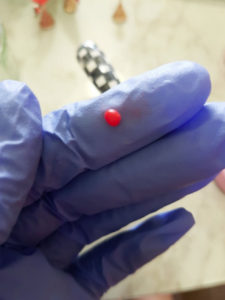
A small 4D Gel bead
- Place the bead on your finger, and with your thumb and index finger roll the 4D gel, so it looks like a round ball like it’s shown in the photo above.
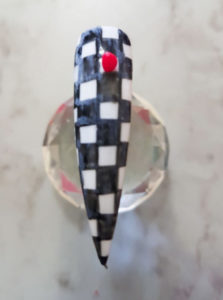
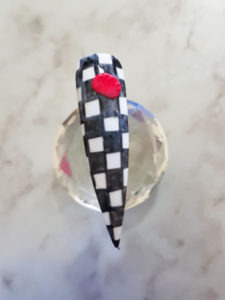
Bead on the nail
- Before doing anything, remove the shine off the surface of the nail with a buffer.
- Place the 4D Gel on the surface of the nail.
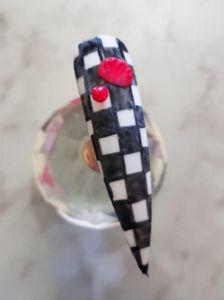
Create a petal shape
- Dip your brush on the cleanser and take some excess off on a couch roll, you want a bit of liquid on the brush.
- When making the petal design pattern, press slightly down, then turn the brush flat, spreading it in a round shape.
- Once you are happy with the petal pattern, place it under the lamp for a few seconds.
Place another bead near the petal
- Scoop out more gel, to place your second ball. When doing the second petal, make sure the ball is a bit further in front than the first petal you created.
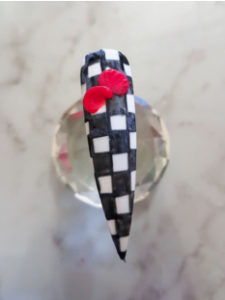
Start to shape second petal
- Apply the same technique you did the first one petal, as you can see from the photo above; my second petal is not in line with the first one. Each petal you do has to be slightly further in front of the last.
- Cure for a few seconds.
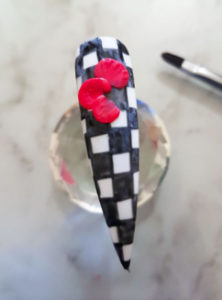
Add a third petal
- Now apply the 3rd petal using the same technique.
- Cure for a few seconds.
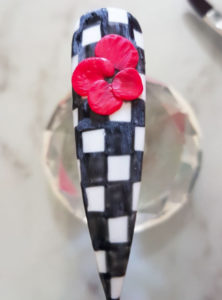
Add a forth petal
- Again, with the same technique apply the 4th Petal.
- Then cure for a few seconds.
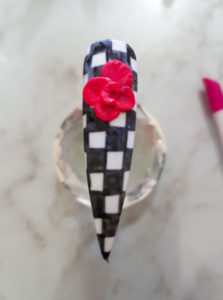
Start to fill in the centre of the flower
- Scoop out smaller ball, and place it in the middle of the other petals.
- Dip your brush in the cleanser, remove the liquid off.
- With the pointy bit of the brush swirl it in the middle and pat it around.
- Once again, cure it for few seconds.
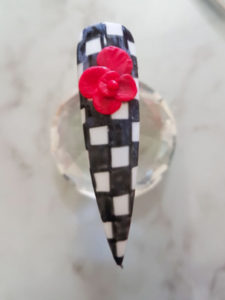
One last section..
- Apply a smaller ball and place it in the middle of all of the petals.
- Take the pointy pit of the brush and swirl it round.
- Then cure for 60 seconds.
The finished look!
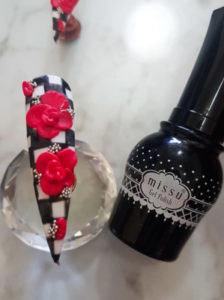
Repeat all of these steps for the 2nd Rose.
- Apply Missu beauty glossy gel top coat (which btw I’m loving it) on the negative spaces, avoid applying it on the 3D gel Roses.
- For the last time, cure for 60 seconds.
- Finish.
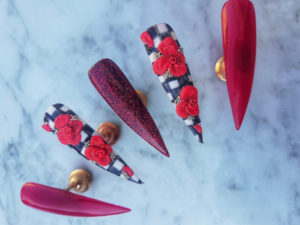
The Finished Set!
Well, what you think? It looks a bit tricky, but I had to go through a couple of tries to get the 3D rose perfect, but hey, I’m only human and we all make errors. I had fun doing this set; If you want to know how I created the chess background design, click here.
Here are a few of my thoughts on this product, my honest opinion is a thumbs up. The 4D gels are easy to move around, and it stays in one place. And Wow! I so love their non-wipe top coat.
If you are crazy for nail art like me, I recommend getting these 4D Gels in your kit – what you can create is so endless.
Thank you all for reading and hope you enjoyed this little step by step post.
Author: Jessabella

My name is Jess, I’m a blogger. freelance Makeup Artist and a newly qualified Nail Artist.